Read More Articles
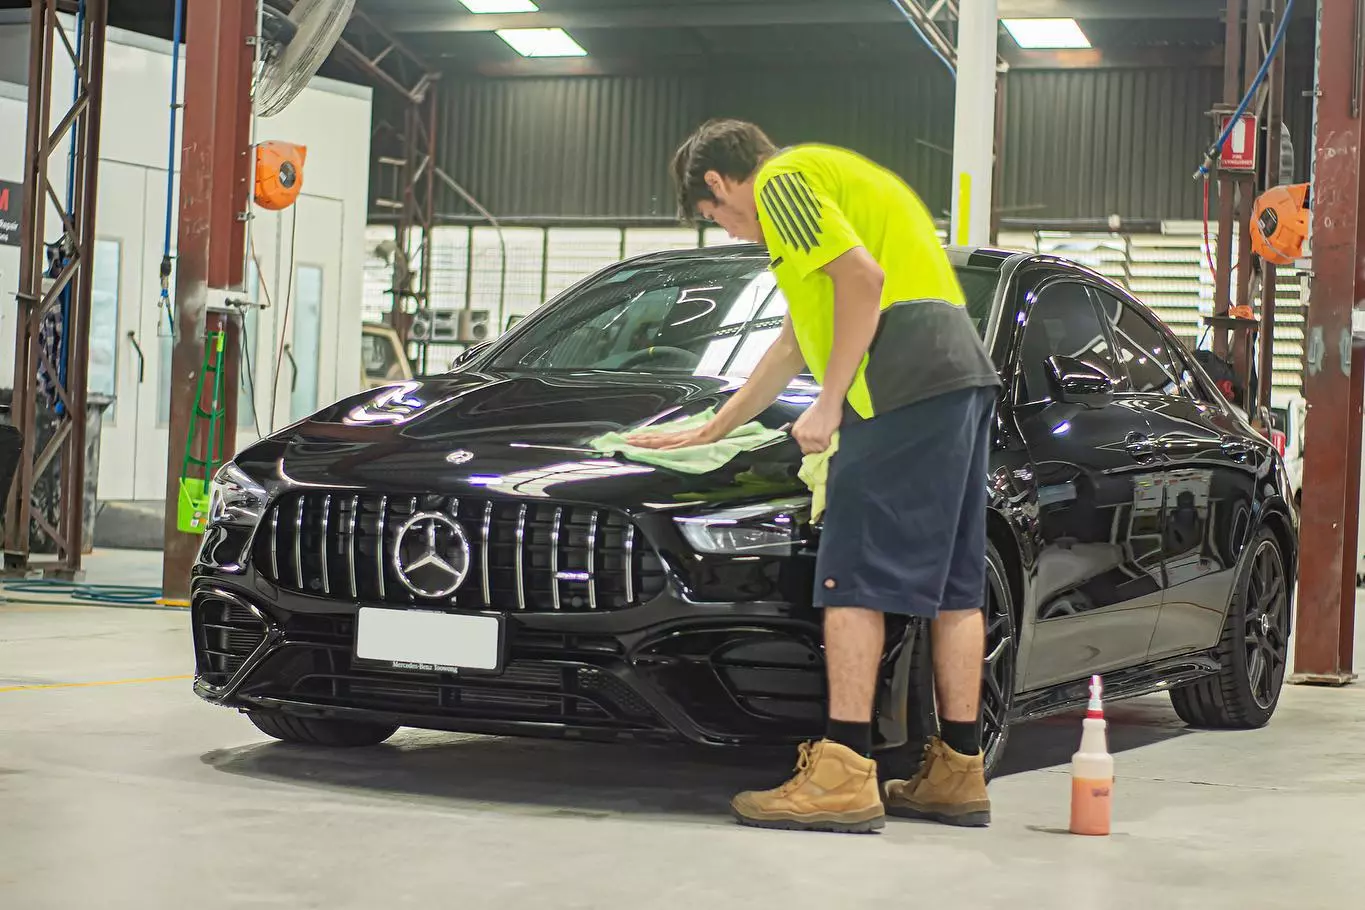
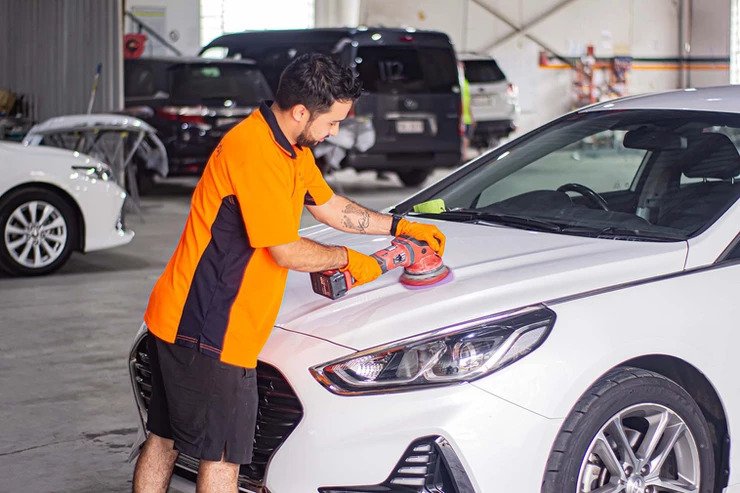
Light scratches on your car's paint can be frustrating, but in many cases they can be removed at home with the right products and technique. Here's a step-by-step guide to tackling minor surface scratches.
What You'll Need
Car wash shampoo and microfibre wash mitt
Clay bar and clay lubricant
Cutting compound or scratch remover
Polishing compound
Microfibre polishing cloths or a dual-action polisher
Car wax or paint sealant
Step 1: Wash the Area Thoroughly
Before you begin, clean the scratched area to remove all dirt and debris. Abrasive particles left on the surface will cause additional scratches when you start polishing.
Step 2: Assess the Scratch Depth
Run your fingernail lightly across the scratch. If your nail catches in it, the scratch penetrates through the clear coat into the colour coat or deeper — this will require professional repair. If your nail glides over it smoothly, it's a surface-level scratch you can attempt to polish out.
Step 3: Clay Bar the Surface
Use a clay bar with lubricant to remove any embedded contaminants from the paint. This creates a smooth base for the polishing compounds to work on.
Step 4: Apply Cutting Compound
Apply a small amount of cutting compound to a microfibre cloth or foam pad. Work it into the scratch using firm, overlapping circular motions. The compound gently abrades the clear coat to level out the scratch.
Step 5: Polish to Restore Gloss
Once the scratch has been reduced, switch to a finer polishing compound to restore clarity and gloss to the clear coat. Work in the same circular motion until the surface looks uniform.
Step 6: Check Your Progress
Wipe off the residue with a clean microfibre cloth and inspect the area in good light. Repeat steps 4–5 if the scratch is still visible.
Step 7: Apply Protection
Once you're happy with the result, apply a coat of wax or paint sealant to protect the freshly polished surface and restore water repellency.
Step 8: Know When to Call a Professional
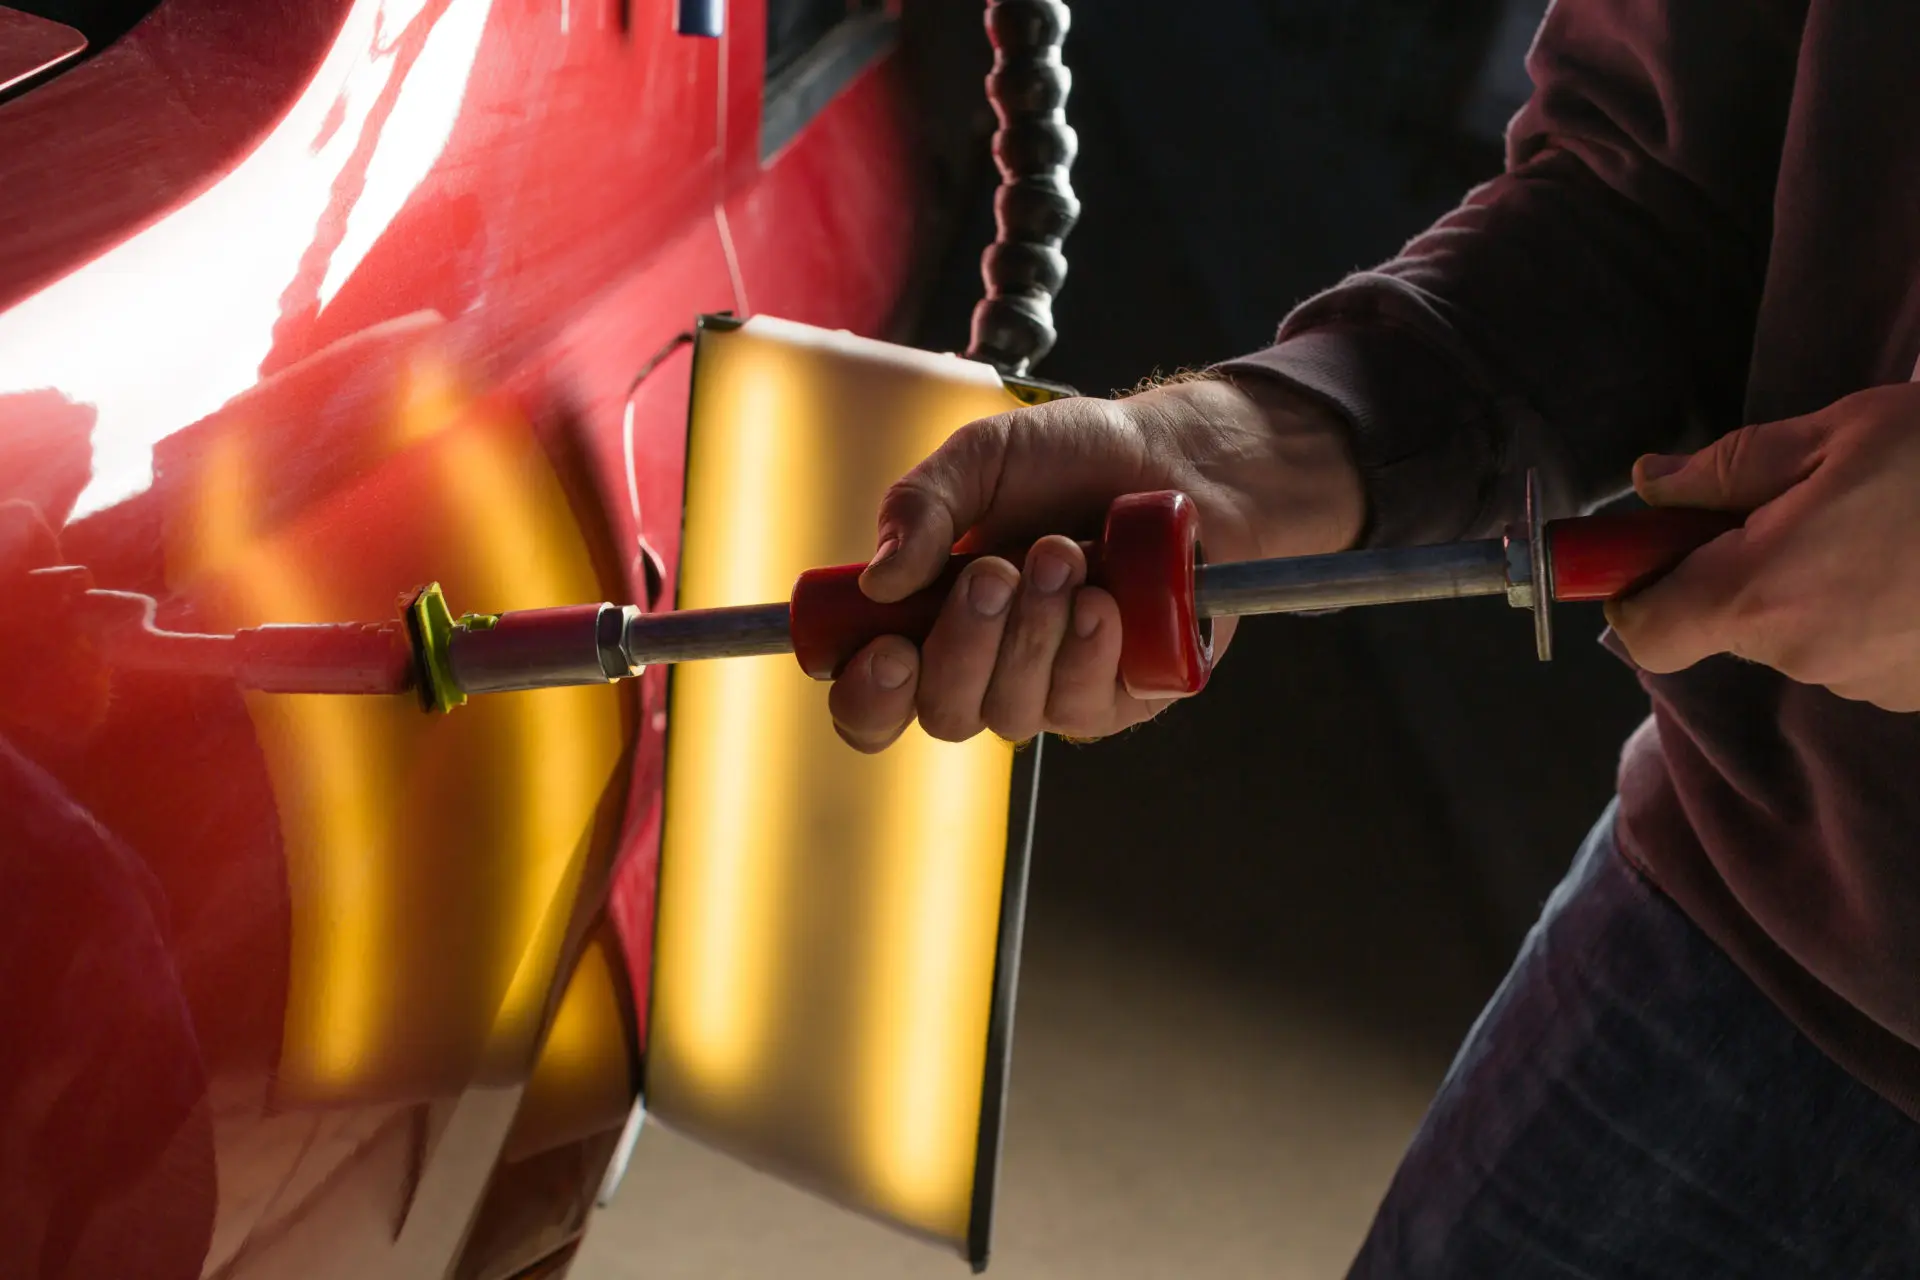
If the scratch exposes bare metal, has broken through to the primer, or covers a large area, DIY methods won't be sufficient. A professional repair will produce a far better and longer-lasting result. Contact us for a free assessment.
Published On
Read Time
5 Minutes